Chicken Pita Recipe For A Truly Amazing, Irresistible Feast
Looking for a meal that’s as healthy as it is versatile? Chicken pita recipes are my go-to on busy weeknights—they’re quick, delicious, and packed with lean protein and fresh veggies. I first fell in love with these wraps when I discovered how the soft, warm pita perfectly holds all those vibrant flavors, making every bite a mini celebration. Fun fact: the traditional pita’s pocket design isn’t just charming—it’s engineered for easy stuffing, turning a simple meal into an irresistible feast. Let’s dive into this culinary delight that’s as practical as it is mouthwatering!
Why This Chicken Pita Recipe Works
This Chicken Pita Recipe stands out because it’s designed to be both simple and adaptable, making it the perfect solution for busy lifestyles without sacrificing flavor. Here’s why it really works:
- Balanced Flavors: The carefully crafted marinade enhances the natural taste of the chicken while blending seamlessly with crisp, fresh veggies and a tangy sauce.
- Versatile & Customizable: Every component—from the lean protein to the soft pita—offers endless customization. Whether you’re in the mood for a mild meal or a spice-packed treat, this recipe adapts to your taste.
- Quick & Healthy: With minimal prep and cooking time, it delivers a nutritious, well-rounded meal that’s perfect for busy weeknights, ensuring you enjoy a wholesome dish without spending hours in the kitchen.
- Perfectly Engineered: Inspired by the classic design of traditional pitas, this recipe leverages the pocket’s natural ability to hold flavors, making every bite a balanced mix of textures and tastes.
In short, this recipe’s success lies in its simplicity and flexibility—it’s a go-to for creating a truly amazing, irresistible feast that you can easily make your own.
Essential Ingredients & Smart Substitutions

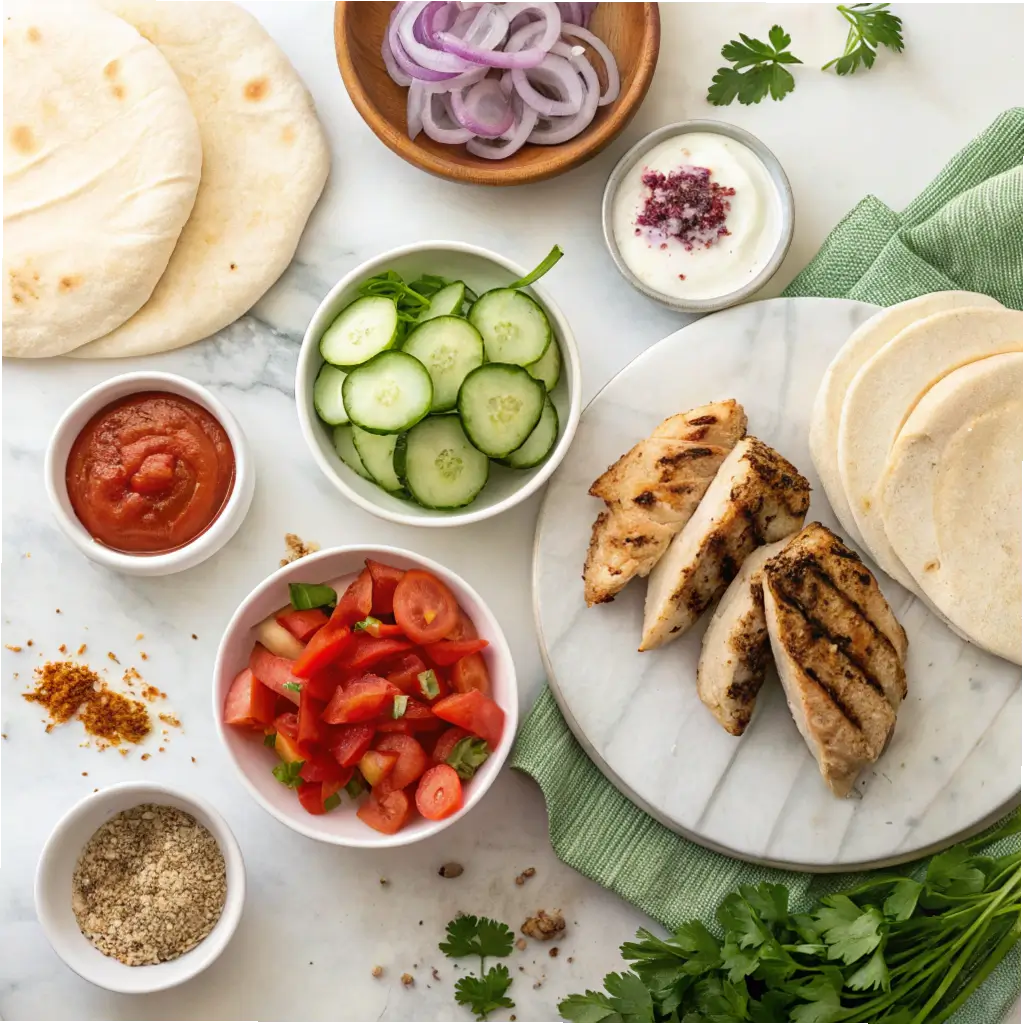
- Chicken: Boneless, skinless chicken breasts
(Substitute with turkey breast or tofu for a vegetarian twist) - Pita Bread: Traditional pita
(Try whole wheat or gluten-free pitas for a healthier option) - Marinade: Olive oil, lemon juice, garlic, cumin, salt, pepper
(Swap lemon juice with lime for a zesty variation) - Fresh Veggies: Crisp lettuce, ripe tomatoes, sliced cucumbers
(Consider adding bell peppers or red onions for extra crunch) - Sauce: Greek yogurt blended with herbs
(Alternatively, use tzatziki or a tahini-based sauce for a different flavor) - Herbs & Extras: Chopped parsley, mint, or cilantro; optional feta cheese or olives
(Customize with your favorite herbs and cheeses to suit your taste)
Step-by-Step Instructions for a Perfect Chicken Pita Recipe
- Prepare the Chicken:
Pat the chicken breasts dry and toss them in a bowl with olive oil, lemon juice, minced garlic, cumin, salt, and pepper. Allow the flavors to meld for at least 20 minutes.
(Tip: The longer the marination, the richer the flavor.) - Cook the Chicken:
Grill or pan-sear the marinated chicken until it’s golden brown and fully cooked. Let the chicken rest for a few minutes before slicing to keep it juicy.
(Pro tip: A grill pan adds delightful char marks.) - Warm the Pitas:
Lightly toast your choice of traditional, whole wheat, or gluten-free pitas on a skillet or in the oven until they’re warm and pliable. - Prepare the Veggies and Sauce:
Wash and slice crisp lettuce, tomatoes, cucumbers, and any extra veggies you love. For the sauce, blend Greek yogurt with your favorite fresh herbs, a squeeze of lemon juice, salt, and pepper.
(Optional: Try tzatziki for a tangy twist.) - Assemble the Pitas:
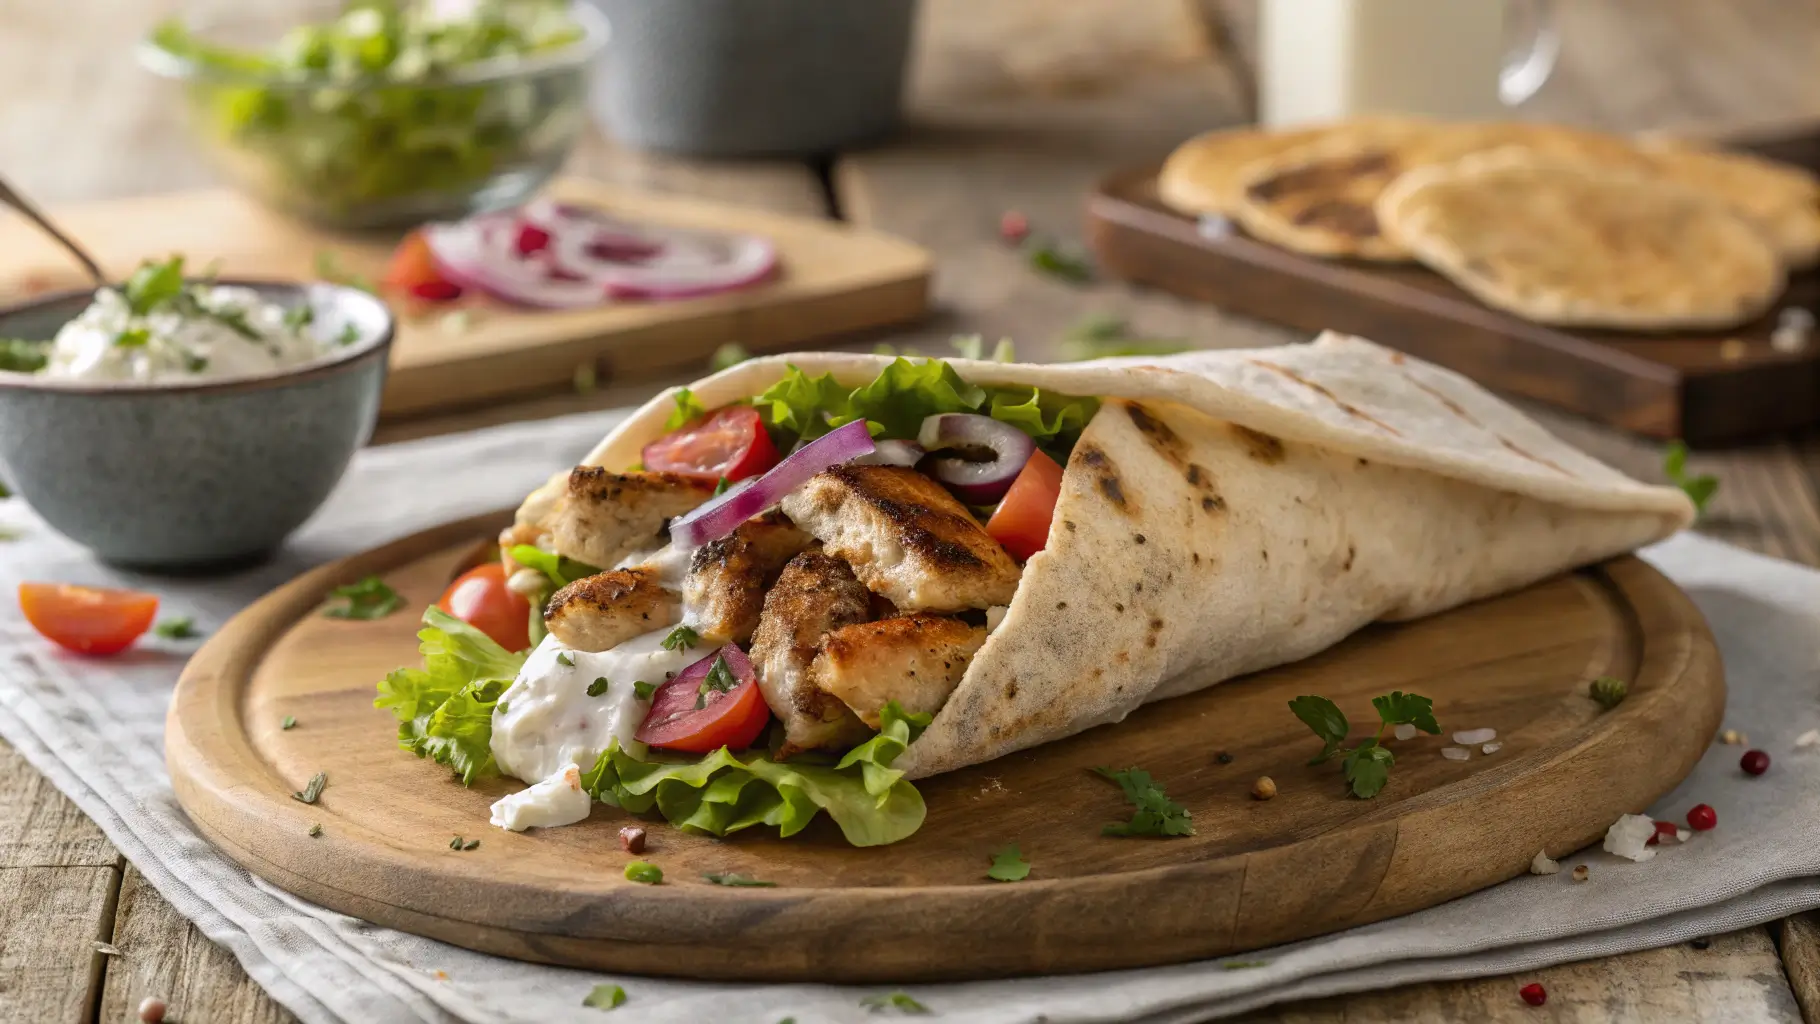
Open each pita to form a pocket and layer in the sliced chicken, fresh veggies, and a generous drizzle of sauce.
(Customize with optional extras like feta or olives to elevate the flavor.) - Serve and Enjoy:
Serve immediately for a warm, satisfying meal or pack for lunch. Savor each bite of your balanced and delicious chicken pita creation!
Serving & Presentation Tips
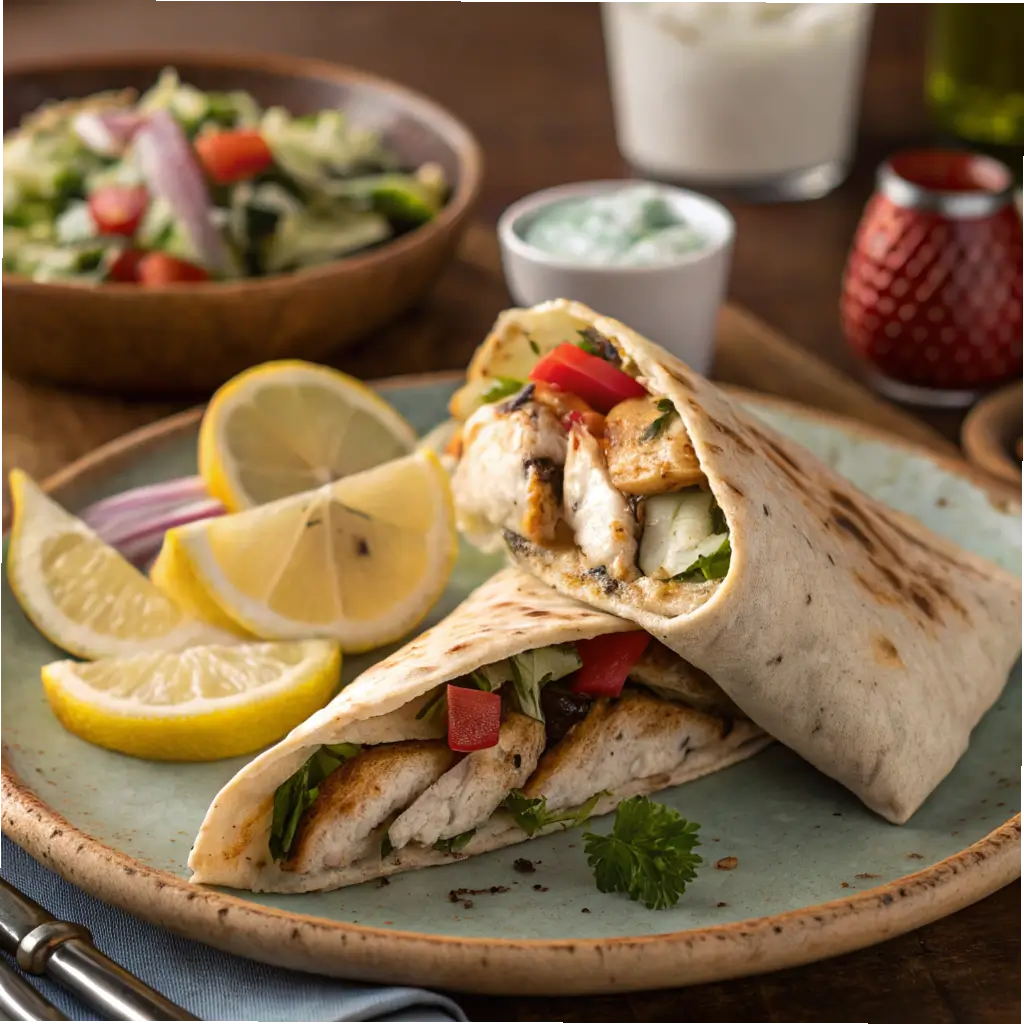
- Plate Creatively: Arrange the chicken and veggies artfully in the pita.
(Garnish with a sprinkle of fresh herbs or crumbled feta for visual appeal.) - Accompany with Sides: Pair your chicken pita with a crisp Greek salad or roasted vegetables to create a balanced meal.
(A side of tzatziki or hummus also complements the flavors nicely.) - Temperature Matters: Serve immediately while the pita is still warm and the ingredients are fresh.
(For lunch on the go, pack components separately to maintain texture.) - Personal Touch: Add a drizzle of extra sauce or a squeeze of lemon just before serving for an extra burst of flavor.
(This final touch elevates both the taste and presentation.)

Enjoy crafting your perfect chicken pita meal and share your creative presentation ideas in the comments below!
Variations and Customizations
- Protein Alternatives: Swap chicken with grilled lamb, beef, or falafel for a vegetarian option.
- Bread Choices: Use naan or flatbread instead of pita for a different texture.
- Flavor Twists: Incorporate spices like za’atar or harissa into the marinade for added depth.
- Toppings: Add pickled onions, roasted red peppers, or a sprinkle of sumac for extra flavor.
- Sauce Options: Try hummus or baba ganoush as alternative spreads to tzatziki.
These variations allow you to tailor the chicken pita to your taste preferences and dietary needs.
Storage and Reheating Guidelines
- Refrigeration:
- Separate Components: Store the chicken, sauce, and vegetables in individual airtight containers. This method preserves freshness and prevents the pita bread from becoming soggy.
- Shelf Life: Properly stored, the cooked chicken remains safe to consume for up to 3 days.
- Freezing:
- Chicken: After cooling, place the cooked chicken in a freezer-safe bag or container. It can be frozen for up to 3 months. Thaw in the refrigerator overnight before reheating.
- Pita Bread: To freeze, seal the pita bread in a freezer-safe bag or container. When ready to use, thaw at room temperature and reheat in a preheated oven or hot skillet to restore its softness.
- Reheating:
- Chicken: Warm the chicken in a skillet over medium heat or in the oven at 350°F (175°C) until heated through. Avoid using the microwave, as it may cause the chicken to become rubbery.
- Pita Bread: To soften, lightly sprinkle water over the pita, wrap it in a clean towel, and microwave for 10-15 seconds. Alternatively, warm it in a skillet over medium heat with a few drops of olive oil on each side, covering the pan to retain moisture.
Safety Tips:
- Cooling: Allow cooked components to cool completely before storing to prevent condensation, which can lead to sogginess.
- Avoid Aluminum Foil: Using aluminum foil for wrapping leftovers is not recommended, as it doesn’t create an airtight seal, potentially allowing air and bacteria to contaminate the food.
- Consumption Timeline: For optimal taste and safety, consume refrigerated leftovers within 3 days and frozen items within the recommended storage times.
By adhering to these storage and reheating practices, you can enjoy your chicken pita with maintained flavor and quality.
Nutritional Information
Understanding the nutritional content of your chicken pita can help you make informed dietary choices. Here’s an approximate breakdown per serving:
- Calories: Ranging from 200 to 890 kcal, depending on ingredients and portion sizes.
- Protein: Approximately 36g, contributing to muscle maintenance and overall health.
- Carbohydrates: Around 40g, providing energy for daily activities.
- Fat: Approximately 9g, including healthy fats from olive oil and other ingredients.
Note: These values are estimates and can vary based on specific ingredients and preparation methods. For precise information, consider using a nutritional calculator or consulting a dietitian.
By being mindful of the nutritional content, you can enjoy this flavorful dish while aligning with your dietary preferences and goals.

Chicken Pita Recipe
Equipment
- 1 Large Skillet For cooking the chicken and vegetables.
- 1 Cutting board For chopping ingredients.
- 1 Knife For slicing the chicken and vegetables.
Ingredients
Chicken
- 2 breasts Boneless, skinless chicken breasts Can substitute with thighs for juicier meat.
- 1 tablespoon Olive oil For cooking.
- 1 teaspoon Garlic powder Fresh minced garlic can be used instead.
- 1 teaspoon Paprika Adds depth and smokiness.
- to taste Salt and Pepper Adjust as needed.
Pita and Fillings
- 4 pieces Pita bread Whole wheat or gluten-free options available.
- 1 cup Lettuce, shredded Romaine or iceberg work well.
- 1 cup Tomatoes, diced Use cherry or Roma tomatoes for best flavor.
- 1/2 cup Cucumber, sliced Adds crunch and freshness.
- 1/2 cup Red onion, thinly sliced Optional but adds a nice bite.
- 1/2 cup Tzatziki sauce Can substitute with Greek yogurt or hummus.
Instructions
Prepare the Chicken
- Slice the chicken breasts into thin strips and season with garlic powder, paprika, salt, and pepper.
Cook the Chicken
- Heat olive oil in a large skillet over medium heat. Cook the chicken for about 7-10 minutes, stirring occasionally, until fully cooked.
Prepare the Pita and Fillings
- Warm the pita bread in a dry skillet or oven for 1-2 minutes.
Assemble the Pitas
- Fill each pita with cooked chicken, shredded lettuce, diced tomatoes, cucumber slices, and red onion. Drizzle with tzatziki sauce.
Serve and Enjoy
- Serve immediately and enjoy your delicious homemade chicken pita!
Video
Notes
FAQs
Can I Use a Different Type of Bread?
Absolutely! While traditional pita bread is commonly used, you can substitute it with flatbreads, naan, or any sturdy bread that can hold the fillings well. Just be mindful of portion sizes to maintain the balance of flavors.
How Far in Advance Can I Marinate the Chicken?
You can marinate the chicken up to two days in advance. This allows the flavors to penetrate deeply, resulting in a more flavorful dish.
What Are Some Alternative Proteins for Chicken Pitas?
If you’re looking to vary the protein, consider using pork, beef, lamb, or plant-based options like falafel, chickpeas, or roasted vegetables. Grilling these alternatives souvlaki-style (on a skewer) can add a fun twist to your meal.
How Should I Store Leftovers?
Store leftover ingredients separately in airtight containers in the refrigerator for up to three days. Assemble the pita pockets just before serving to ensure the best texture and freshness.
Can I Cook the Chicken Without a Grill?
Yes, if you don’t have access to an outdoor grill, you can use an indoor grill pan to achieve a similar charred flavor. Alternatively, cooking the chicken on the stovetop or baking it in the oven are viable options.
Are There Vegetarian Options for Pita Fillings?
Certainly! Plant-based options like falafel, chickpeas, or roasted vegetables make excellent fillings for pitas, providing a delicious and satisfying vegetarian alternative.
By addressing these common questions, you can customize your chicken pita experience to suit your preferences and dietary needs, ensuring a delightful meal every time.
Conclusion
This Chicken Pita Recipe is more than just a meal—it’s a quick, flavorful, and satisfying dish that fits any occasion. Whether you’re looking for a healthy weeknight dinner, a crowd-pleasing lunch, or a fresh take on Mediterranean flavors, this recipe delivers.
With its juicy, seasoned chicken, crisp veggies, and creamy sauces wrapped in warm, pillowy pita bread, every bite is a delightful balance of textures and tastes. Plus, the customizable nature of the recipe makes it perfect for different dietary preferences.
Now it’s your turn! Try this recipe and let us know how it turned out. Did you add a unique twist? Have a favorite pairing? Share your experience in the comments below!
Enjoy your homemade Chicken Pita Feast! 🚀🥙

