
Have you ever experienced the joy of watching dough rise? It’s a magical transformation that not only creates delicious baked goods but also brings a sense of accomplishment. Rising recipes are not just about the end product; they are about the journey of creating something wonderful from simple ingredients. In this article, we will explore how these recipes can enhance your well-being, boost your energy, and elevate your mood. By using fresh ingredients and wholesome components, you can enjoy the homemade goodness that comes with each bite. So, whether you’re a seasoned baker or a curious novice, join me as we dive into the world of rising recipes that will surely make you feel amazing!
Table of Contents
Key Benefits of Rising Recipes
Rising recipes are not just about creating fluffy breads or delightful pastries; they come with a host of benefits that can truly enhance your cooking experience. Firstly, these recipes often incorporate wholesome ingredients, which means you’re not only treating your taste buds but also nourishing your body. Here are some key benefits to consider:
- Health Benefits: Many rising recipes utilize whole grains and fresh ingredients, which can boost your nutritional intake. This is especially important for maintaining energy levels throughout the day.
- Mood Enhancement: The act of baking can be incredibly therapeutic. The warm aromas wafting through your kitchen can uplift your spirits, making rising recipes a perfect comfort food.
- Homemade Goodness: There’s something special about making food from scratch. Rising recipes allow you to control the ingredients, ensuring that you’re serving your family the best possible meals.
- Energy Boost: Foods that rise, like bread and pastries, often provide a quick source of energy, making them ideal for breakfast or snacks.
- Gut Health: Many rising recipes involve fermentation, which can promote gut health. This is due to the beneficial bacteria produced during the rising process.
In summary, rising recipes not only satisfy your cravings but also contribute positively to your overall well-being. So, the next time you’re in the kitchen, remember that you’re not just baking; you’re creating something that can make you feel amazing!
Ingredients for Rising Recipes
When it comes to rising recipes, the quality of your ingredients can make all the difference. Below, I’ve compiled a list of essential components that will help you create delicious, fluffy delights. Remember, using fresh produce and pantry staples is key to achieving the best results!
- Flour: All-purpose flour is a great choice for most rising recipes. However, whole wheat flour can add a nutty flavor and extra nutrients. If you’re feeling adventurous, try a blend of both!
- Yeast: Active dry yeast is commonly used, but instant yeast can also work wonders. Just remember to check the expiration date to ensure it’s fresh.
- Sugar: A little sugar not only sweetens your dish but also helps activate the yeast. You can use granulated sugar, honey, or even maple syrup as alternatives.
- Salt: Don’t skip the salt! It enhances flavor and controls yeast activity. Sea salt or kosher salt are excellent options.
- Water: Warm water is essential for activating the yeast. Aim for a temperature between 100°F and 110°F for optimal results.
- Eggs: Eggs add richness and moisture. If you’re looking for a vegan option, consider using flaxseed meal or applesauce as a substitute.
- Herbs and Spices: Fresh herbs like rosemary or thyme can elevate your rising recipes. Additionally, spices such as cinnamon or nutmeg can add warmth and depth.
As you gather these ingredients, keep in mind that the freshness of each component plays a crucial role in the final outcome. For instance, using freshly milled flour can enhance the flavor profile significantly. Moreover, if you find yourself short on any ingredient, don’t hesitate to explore substitutions. For example, if you’re out of eggs, a simple mixture of water and ground flaxseed can do the trick. Overall, the right ingredients will not only ensure your rising recipes turn out beautifully but also make the process enjoyable. Happy baking!
How to Make Rising Recipes
Creating rising recipes is a delightful journey that transforms simple ingredients into fluffy, comforting dishes. Follow these steps closely, and you’ll be rewarded with delicious results. Let’s dive in!
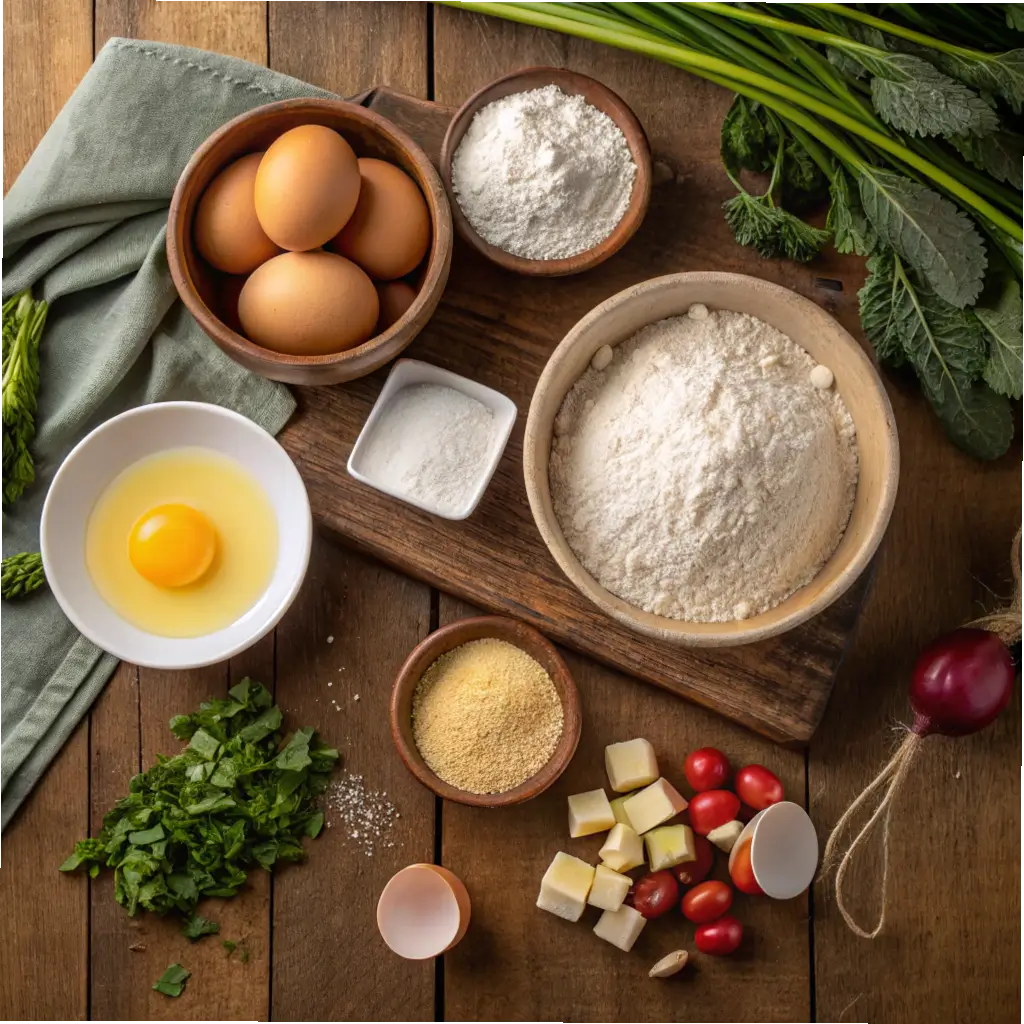
- Gather Your Ingredients: Start by assembling all your ingredients. You’ll need flour, yeast, sugar, salt, water, and any additional flavor enhancers like herbs or spices. Using fresh, quality ingredients is crucial for the best outcome.
- Activate the Yeast: In a mixing bowl, combine warm water (about 110°F) with sugar and yeast. Stir gently and let it sit for about 5-10 minutes. You should see bubbles forming, which indicates that your yeast is alive and ready to work its magic.
- Mix the Dry Ingredients: In another bowl, whisk together your flour and salt. This step is important because it ensures even distribution of the salt, which can inhibit yeast activity if added directly to the yeast mixture.
- Combine Wet and Dry Ingredients: Once your yeast mixture is bubbly, pour it into the bowl with your dry ingredients. Mix until a shaggy dough forms. At this point, you can also add any herbs or spices for extra flavor.
- Knead the Dough: Transfer the dough onto a floured surface. Knead it for about 8-10 minutes until it becomes smooth and elastic. This process develops the gluten, which is essential for a good rise.
- First Rise: Place the kneaded dough in a lightly greased bowl, cover it with a damp cloth, and let it rise in a warm place for about 1-2 hours. The dough should double in size. If your kitchen is cool, consider placing it in an oven with just the light on.
- Punch Down the Dough: After the first rise, gently punch down the dough to release excess air. This step is crucial because it redistributes the yeast and prepares the dough for shaping.
- Shape the Dough: Shape your dough into rolls, loaves, or whatever form your recipe calls for. Place them on a baking sheet lined with parchment paper, ensuring they have enough space to rise again.
- Second Rise: Cover the shaped dough with a cloth and let it rise for another 30-60 minutes. This second rise is essential for achieving that light and airy texture.
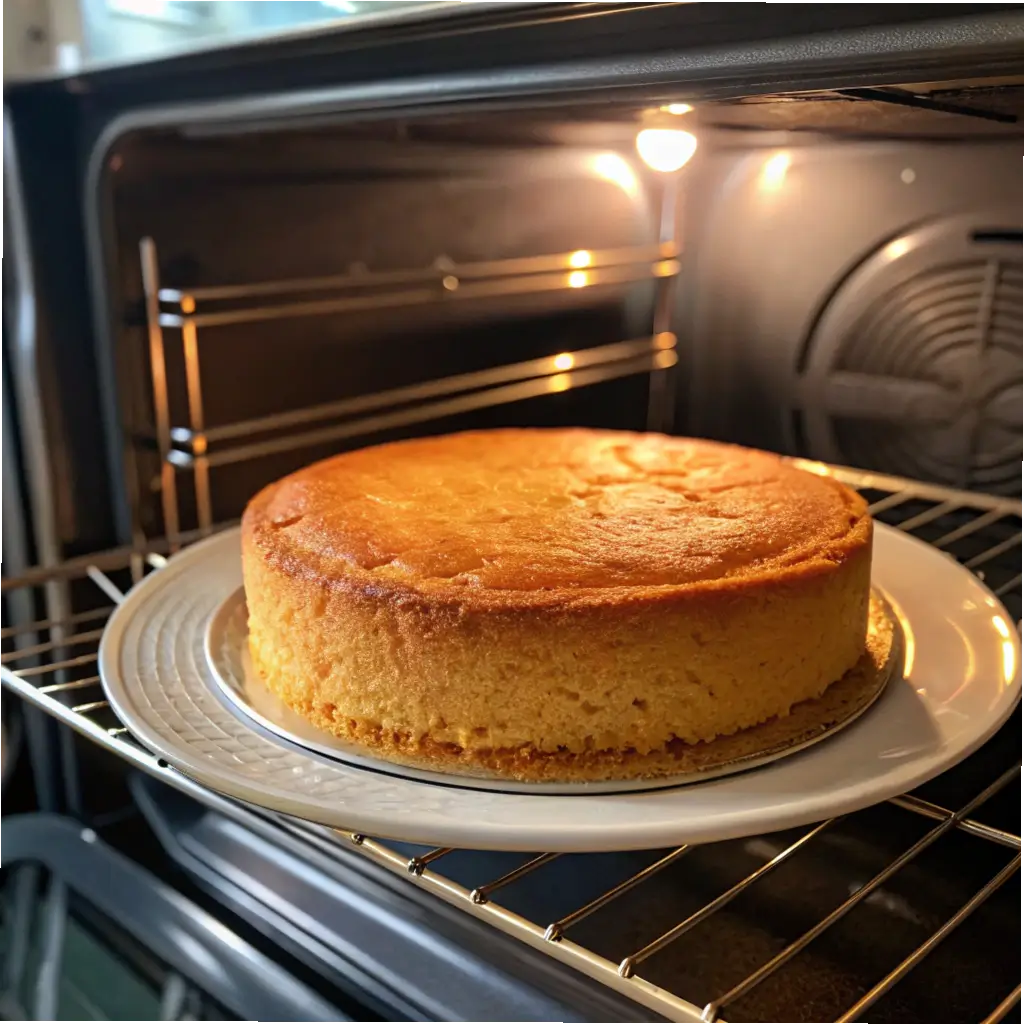
- Bake: Preheat your oven to the temperature specified in your recipe, usually around 375°F to 425°F. Bake the dough until it’s golden brown and sounds hollow when tapped on the bottom. This usually takes about 20-30 minutes.
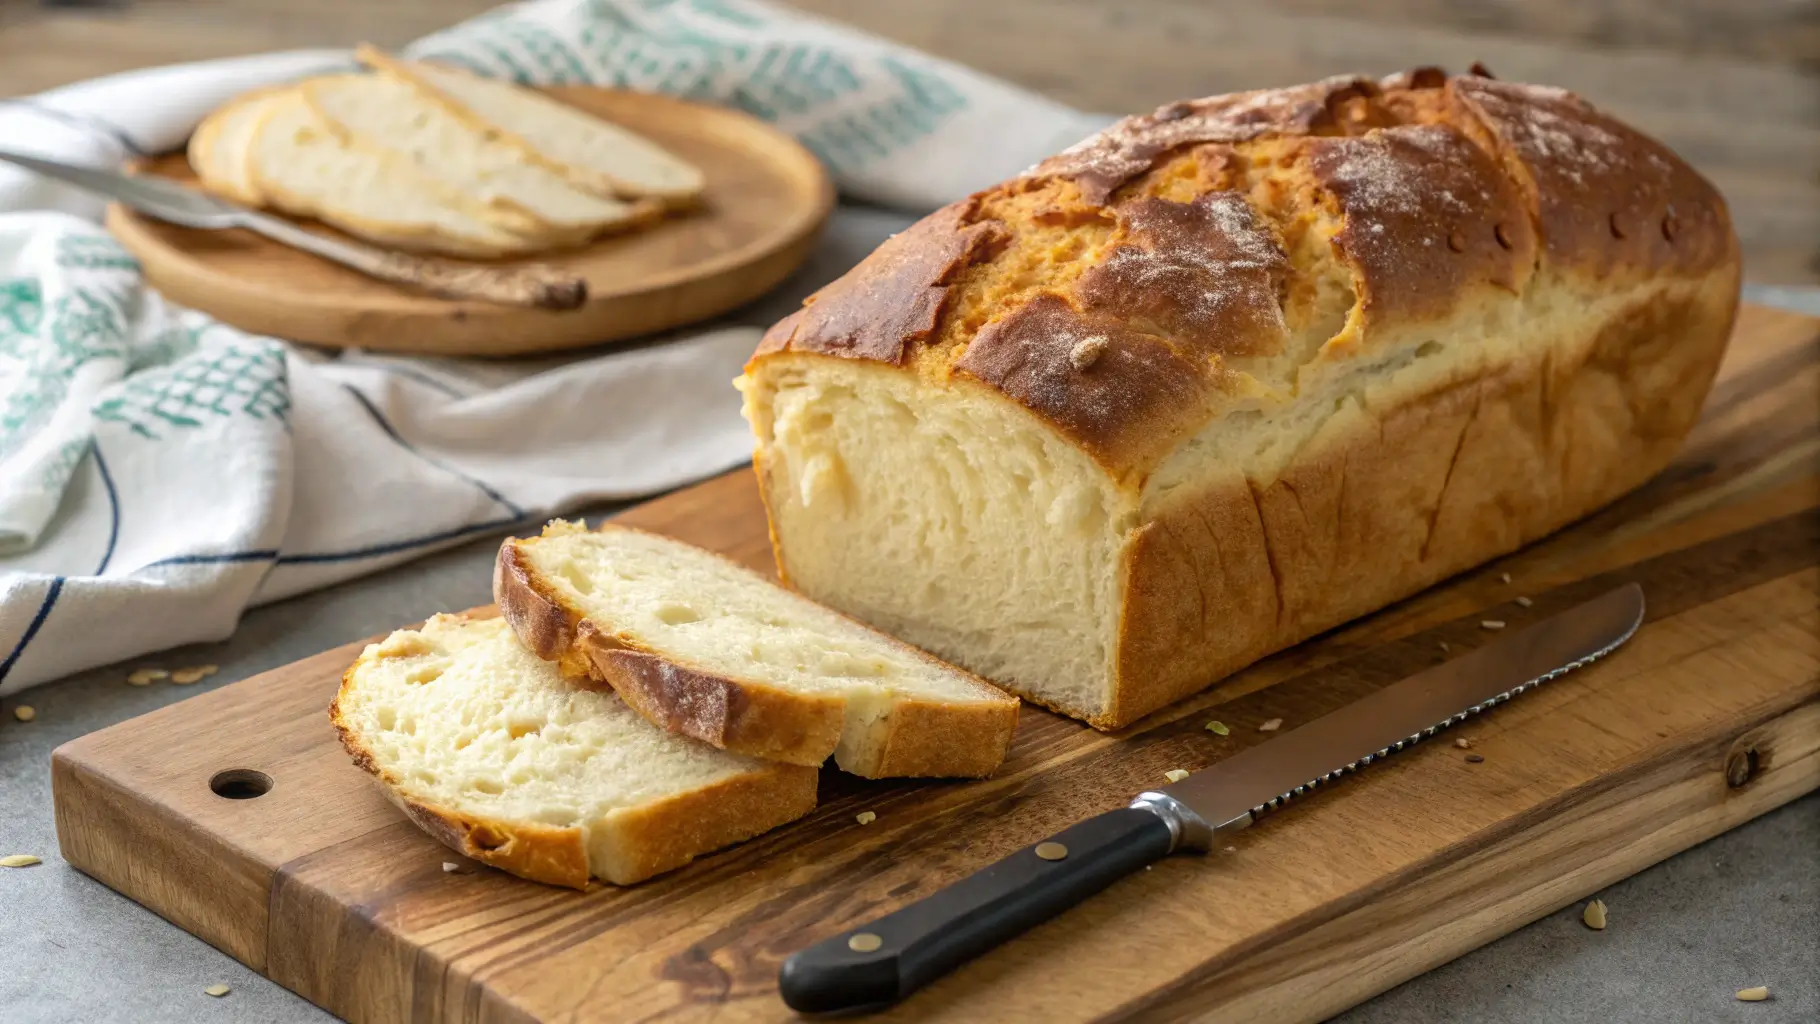
- Cool and Enjoy: Once baked, remove the rising recipes from the oven and let them cool on a wire rack. This step is important because it allows the steam to escape, preventing sogginess. Enjoy your freshly baked creation!
By following these steps, you’ll master the art of making rising recipes that not only taste amazing but also fill your kitchen with delightful aromas. Remember, practice makes perfect, so don’t hesitate to experiment with different flavors and shapes!
Pro Tips, Variations & Common Problems
When it comes to rising recipes, a few expert tips can make all the difference. Here’s how to elevate your baking game and troubleshoot common issues that may arise.
Pro Tips
• Always use fresh yeast. If your yeast is expired, your dough may not rise properly. To check, dissolve a teaspoon of sugar in warm water and add the yeast. If it bubbles, you’re good to go!
• Measure ingredients accurately. Baking is a science, so use a kitchen scale for precision. This ensures the right dough consistency, which is crucial for rising recipes.
• Knead your dough well. This develops gluten, which helps trap air bubbles and gives your bread that lovely rise. Aim for about 8-10 minutes of kneading.
• Proof in a warm place. Yeast thrives in warmth. If your kitchen is cool, place the dough in an oven with the light on or near a warm window.
Creative Variations
• For a nutty flavor, consider substituting half of the all-purpose flour with whole wheat flour. This adds depth and nutritional value to your rising recipes.
• Experiment with herbs and spices. Adding rosemary or garlic can transform a simple bread into a flavorful delight. Alternatively, try cinnamon and sugar for a sweet twist.
• If you’re feeling adventurous, incorporate different liquids. Instead of water, use milk or even beer for a unique flavor profile.
Common Problems & Solutions
• If your dough isn’t rising, it could be due to inactive yeast. Always check the expiration date and ensure your liquids are warm, not hot, as high temperatures can kill the yeast.
• For dough that’s too sticky, add a little more flour gradually. However, be cautious not to overdo it, as this can lead to dense bread.
• If your bread is too dense, it may be under-kneaded or not proofed long enough. Ensure you’re allowing enough time for the dough to rise and develop properly.
• Lastly, if your bread is overcooked, check your oven temperature with a thermometer. Ovens can often be off by quite a bit, leading to unexpected results.
With these tips and variations, you’re well on your way to mastering rising recipes. Remember, baking is as much about enjoying the process as it is about the final product. Happy baking!
Serving Suggestions
When it comes to rising recipes, presentation can elevate your dish from ordinary to extraordinary. Here are some delightful serving suggestions that will not only impress your guests but also enhance the overall dining experience.
Plating Ideas
For a stunning presentation, consider the following tips:
- Use a large, white plate to make the colors of your rising recipe pop. This creates a beautiful contrast and draws attention to the dish.
- Garnish with fresh herbs, such as parsley or basil, to add a touch of color and freshness. Not only does this look appealing, but it also enhances the flavor.
- For a rustic feel, serve your rising recipe on a wooden board. This adds warmth and charm, making it perfect for casual gatherings.
Side Dish Pairings
Pairing your rising recipes with complementary side dishes can create a well-rounded meal. Here are some ideas:
- Serve with a crisp salad dressed in a light vinaigrette. The acidity will balance the richness of the rising dish.
- Consider pairing with roasted vegetables. Their caramelized sweetness will beautifully contrast the flavors of your main dish.
- If you’re serving bread or pastries, a side of homemade dips, like hummus or tzatziki, can add an exciting twist.
Creative Serving Options
Depending on the occasion, you can choose different serving styles:
- For a casual family dinner, serve your rising recipes family-style. Place the dish in the center of the table, allowing everyone to help themselves.
- If you’re hosting a more elegant gathering, consider individual servings. This adds a touch of sophistication and makes each guest feel special.
- For a fun twist, create a DIY station where guests can customize their rising recipes with various toppings or sauces. This interactive approach is sure to delight!
Presentation Tips
Lastly, here are some additional tips to ensure your rising recipes shine:
- Serve at the right temperature. Warm dishes are more inviting and enhance the flavors.
- Use colorful plates or bowls to add visual interest. This can make even the simplest dish look gourmet.
- Don’t forget about the finishing touches! A drizzle of olive oil or a sprinkle of sea salt can elevate the dish and make it look restaurant-worthy.
By incorporating these serving suggestions, your rising recipes will not only taste amazing but also look stunning on the table. So, gather your loved ones, and enjoy the delightful experience of sharing good food together!
Preserving and Reheating Rising Recipes
When it comes to enjoying your delicious rising recipes later, proper storage and reheating are essential. After all, you want to maintain that delightful flavor and texture that makes these dishes so special. Let’s dive into some practical tips that will help you keep your rising recipes fresh and tasty!
Storage Tips
To store your rising recipes effectively, start by letting them cool completely. Once cooled, place them in an airtight container. This helps to lock in moisture and prevent them from drying out. If you plan to enjoy your dish within a few days, refrigeration is a great option. Generally, rising recipes can stay fresh in the fridge for about 3 to 5 days. However, if you want to keep them for a longer period, freezing is your best bet. When properly sealed in freezer bags or vacuum-sealed containers, they can last up to 3 months.
Moreover, always label your containers with the date to keep track of freshness. It’s important to note that food safety is paramount. Therefore, ensure that your rising recipes are cooled before refrigerating or freezing. This helps to prevent bacterial growth, which can lead to spoilage. Additionally, avoid leaving your dish out at room temperature for more than two hours.
Reheating Methods
Now, let’s talk about reheating your rising recipes without sacrificing their deliciousness. The oven is often the best choice for reheating, as it helps to restore that lovely texture. Preheat your oven to 350°F (175°C). Then, place your dish in an oven-safe dish and cover it with aluminum foil. This prevents it from drying out. Heat for about 15 to 20 minutes, or until warmed through. If you’re in a hurry, the microwave can also work. Just be sure to add a splash of water to the dish and cover it with a microwave-safe lid. Heat in short intervals of 30 seconds, stirring in between, until heated to your liking.
Alternatively, if you own an air fryer, it can be a fantastic option as well. Set it to 300°F (150°C) and reheat for about 5 to 10 minutes. This method crisps up the outside while keeping the inside moist. Lastly, if you want to refresh your dish, consider adding a little moisture. A drizzle of olive oil or a sprinkle of water can work wonders. By following these tips, you’ll ensure that your rising recipes remain as delightful as the day you made them!
rising recipes
Ingredients
Dry Ingredients
- 4 cups All-purpose flour Can substitute with whole wheat flour.
- 1 packet Active dry yeast Ensure it’s fresh.
- 2 tablespoons Sugar Can use honey or maple syrup.
Wet Ingredients
- 1.5 cups Warm water Temperature should be between 100°F and 110°F.
- 1 large Egg For richness; can substitute with flaxseed meal.
Flavor Enhancers
- 1 teaspoon Salt Enhances flavor and controls yeast activity.
- 1 tablespoon Fresh herbs or spices Optional for added flavor.
Instructions
Preparation
- Gather all your ingredients.
Activate Yeast
- Combine warm water with sugar and yeast. Let it sit for 5-10 minutes until bubbly.
Mix Dry Ingredients
- Whisk together flour and salt in a separate bowl.
Combine Ingredients
- Pour the yeast mixture into the dry ingredients and mix until a shaggy dough forms.
Knead Dough
- Knead the dough on a floured surface for 8-10 minutes until smooth and elastic.
First Rise
- Place the dough in a greased bowl, cover, and let it rise for 1-2 hours until doubled in size.
Punch Down
- Gently punch down the dough to release excess air.
Shape Dough
- Shape the dough into rolls or loaves and place on a baking sheet.
Second Rise
- Cover and let the shaped dough rise for another 30-60 minutes.
Bake
- Preheat oven to 375°F-425°F and bake until golden brown, about 20-30 minutes.
Cool
- Remove from oven and cool on a wire rack.
Video
Conclusion
As we wrap up this delightful journey into the world of rising recipes, let’s take a moment to reflect on the key steps that make this culinary adventure so rewarding. From mixing your ingredients to the magical fermentation process, each step is not only simple but also incredibly versatile. Whether you’re crafting a warm loaf of bread or fluffy rolls, the beauty of rising recipes lies in their ability to adapt to your tastes and preferences. So, I encourage you to roll up your sleeves and give this recipe a try; you might just discover a new favorite!
Moreover, I would love to hear about your experiences! Feel free to share your results or ask any questions you might have. Remember, cooking is all about exploration and creativity. Don’t hesitate to experiment with different flavors or pairings to make this recipe your own. After all, rising recipes are a fantastic way to unleash your culinary creativity and bring joy to your kitchen.
In conclusion, I hope you find as much joy in making these rising recipes as I do. So, gather your ingredients, invite a friend or family member to join you, and enjoy the process. Happy cooking!
Frequently Asked Questions about Rising Recipes
Welcome to our FAQ section! Here, we address some common questions about rising recipes to help you achieve the best results in your baking adventures.
Why is my dough not rising?
There could be several reasons for this. Firstly, ensure your yeast is fresh and active. If it’s expired, it won’t work effectively. Additionally, check the temperature of your water; it should be warm, not hot, as excessive heat can kill the yeast. Lastly, make sure your dough is in a warm, draft-free area to promote rising.
How can I tell if my yeast is active?
To check if your yeast is active, mix it with warm water and a bit of sugar. After about 5-10 minutes, it should become frothy and bubbly. If it doesn’t, your yeast may be inactive, and you should consider using a new packet.
Can I use whole wheat flour instead of all-purpose flour?
Yes, you can! However, whole wheat flour absorbs more liquid, so you may need to adjust the amount of water in your rising recipes. Additionally, consider adding a bit of vital wheat gluten to improve the texture and rise.
What should I do if my dough is too sticky?
If your dough is too sticky, you can add a little more flour, but do so gradually. Alternatively, you can lightly oil your hands and the work surface to help manage the stickiness without adding too much flour, which can affect the final texture.
How can I store leftover dough?
To store leftover dough, wrap it tightly in plastic wrap or place it in an airtight container. You can refrigerate it for up to a week or freeze it for longer storage. Just remember to let it come to room temperature and rise again before using it in your rising recipes.